Click Here For:
Foam Cornice Boards
Wood Cornice Boards
Frequently Asked Questions
![]()
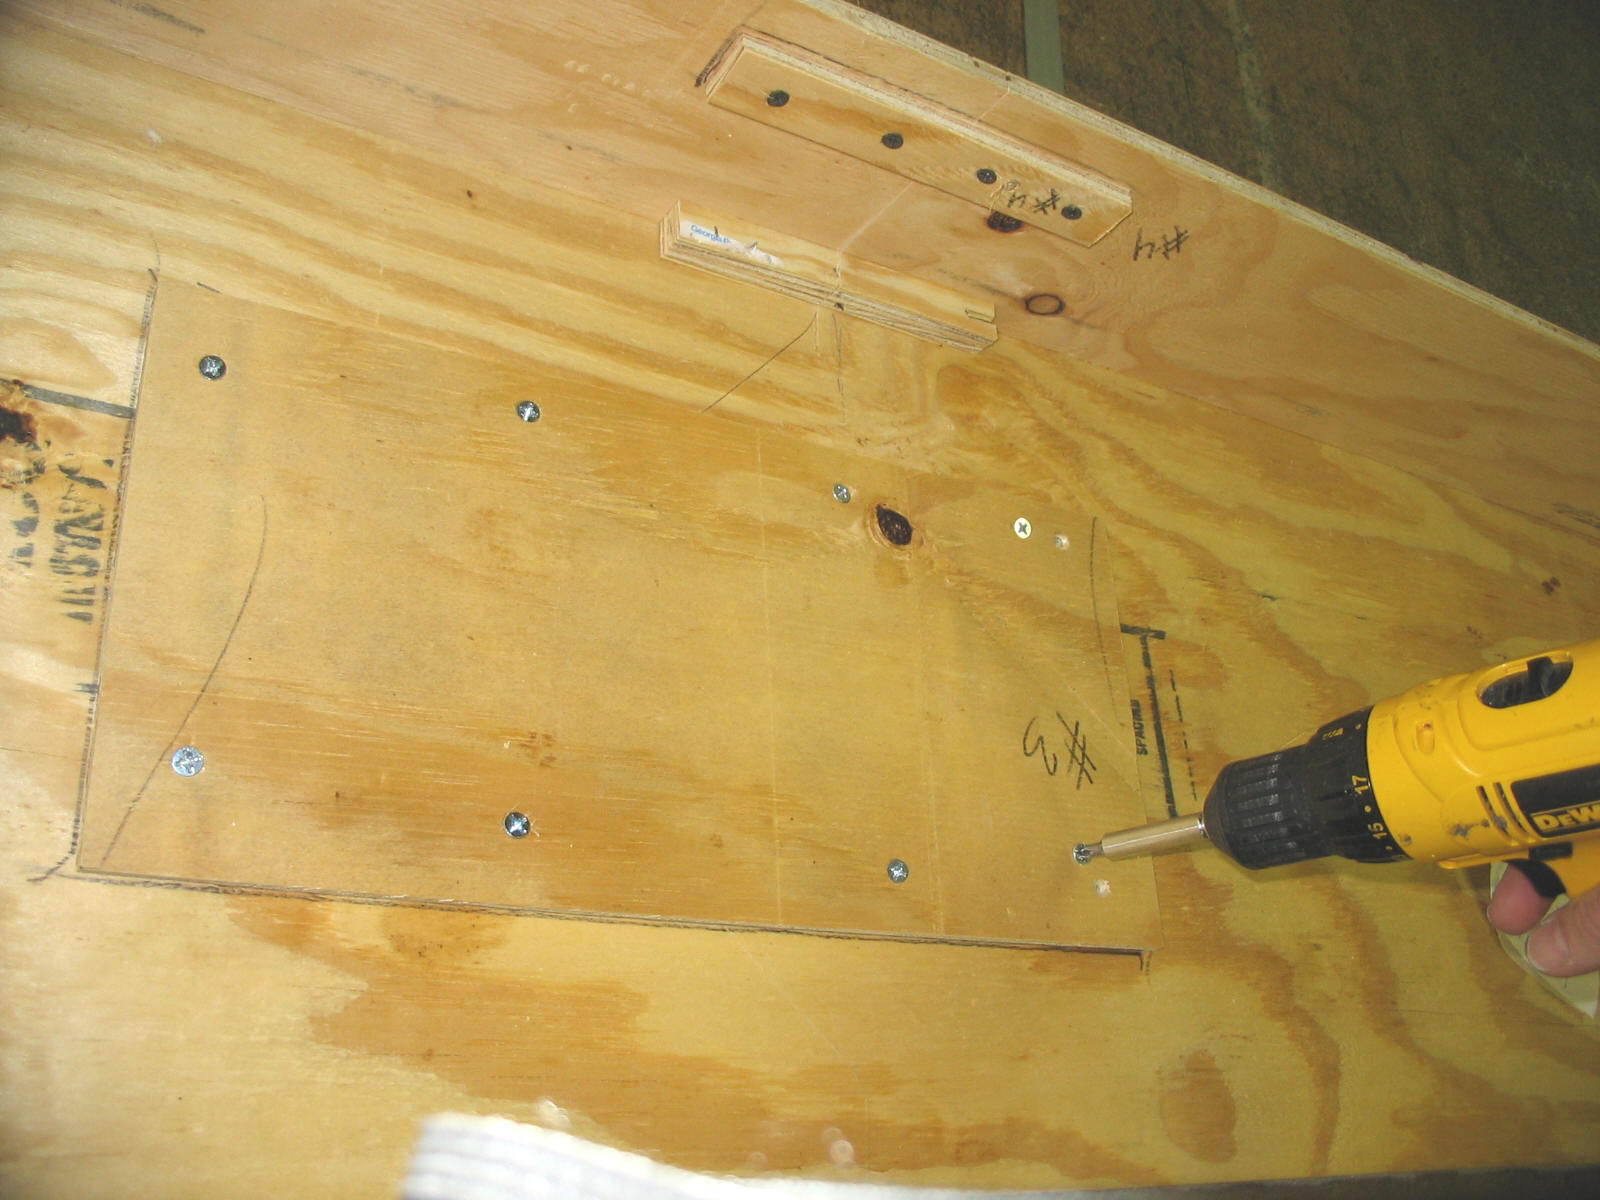
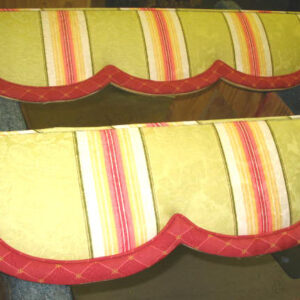
Cornices can be custom cut to the size you need. To save shipping costs on window treatments, we can cut your cornice in half. Then, when you receive your shipment, you can easily reassemble the cornice before placing the fabric on top. Click on the pictures below for a more detailed view. |
|||
 |
 |
 |
 |
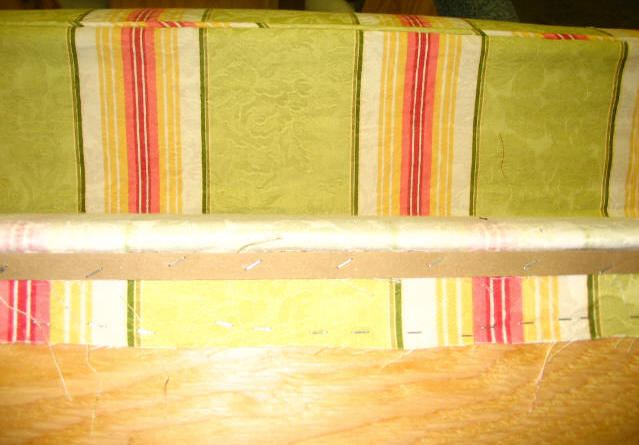
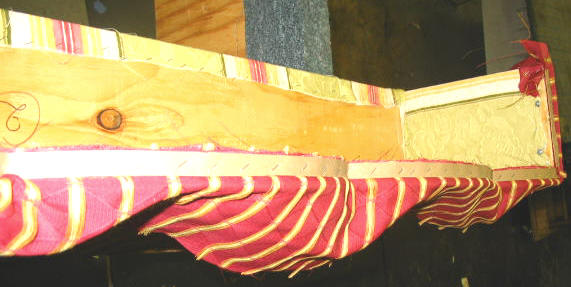
Step 1- How to Place Fabric onto a Cornice Board
Click on the pictures below for a more detailed view.
* price on cornices does not include welt and cording. Welt and cording is additional cost.
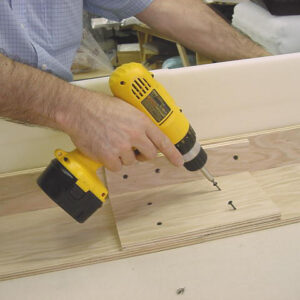
Step 2- How To Install Top Treatment
Required Tools – Electric Drill (with various drill bits), level, screws, brakes and pencil.
A- Place the brackets in their proper location. Always use all of the brackets that are provided for you. To install the brackets, measure about 3” to 4” from each end. Then install brackets at each location and make sure all brackets are level with each other.
B- Place the top treatment over the brackets. Secure the top boards with the short screws provided. Each hole in the brackets should have a screw.
![]()
Foam Cornice Boards
Required Materials: Scissors, ruler or straight edge, fine point felt tip marker, tape measure and a LOW TEMP GLUE GUN.
DO NOT leave a low heat gun plugged in for an extended time and then use it on foam. Hot glue will meltthe foam. We recommend you test on a small, hidden area prior to applying on your final product.
Step 1 – Assembling the Cornice
A. Measure Your Window
Measure the width of your window including blinds, curtains, or molding (whichever is widest) and add a minimum of 1″ per side. (more can be added according to personal preference).
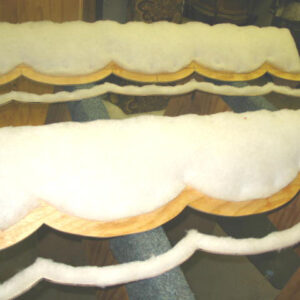
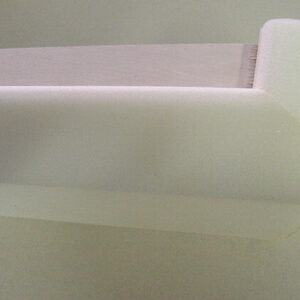
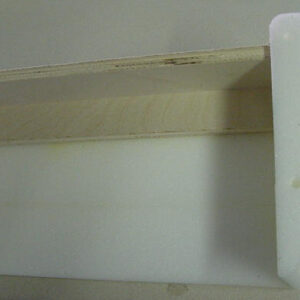
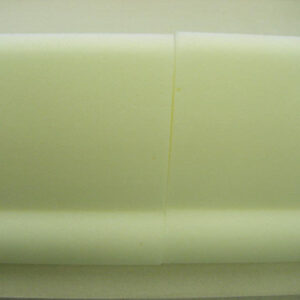
Foam Cornice comes with a Dust cap wood backing
 |
 |
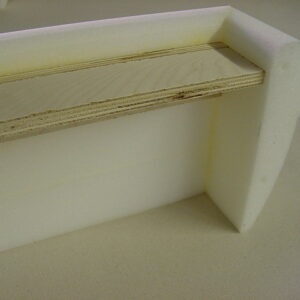 |
Top View Of Cornice |
Bottom View Of Cornice |
Side View Of Cornice |
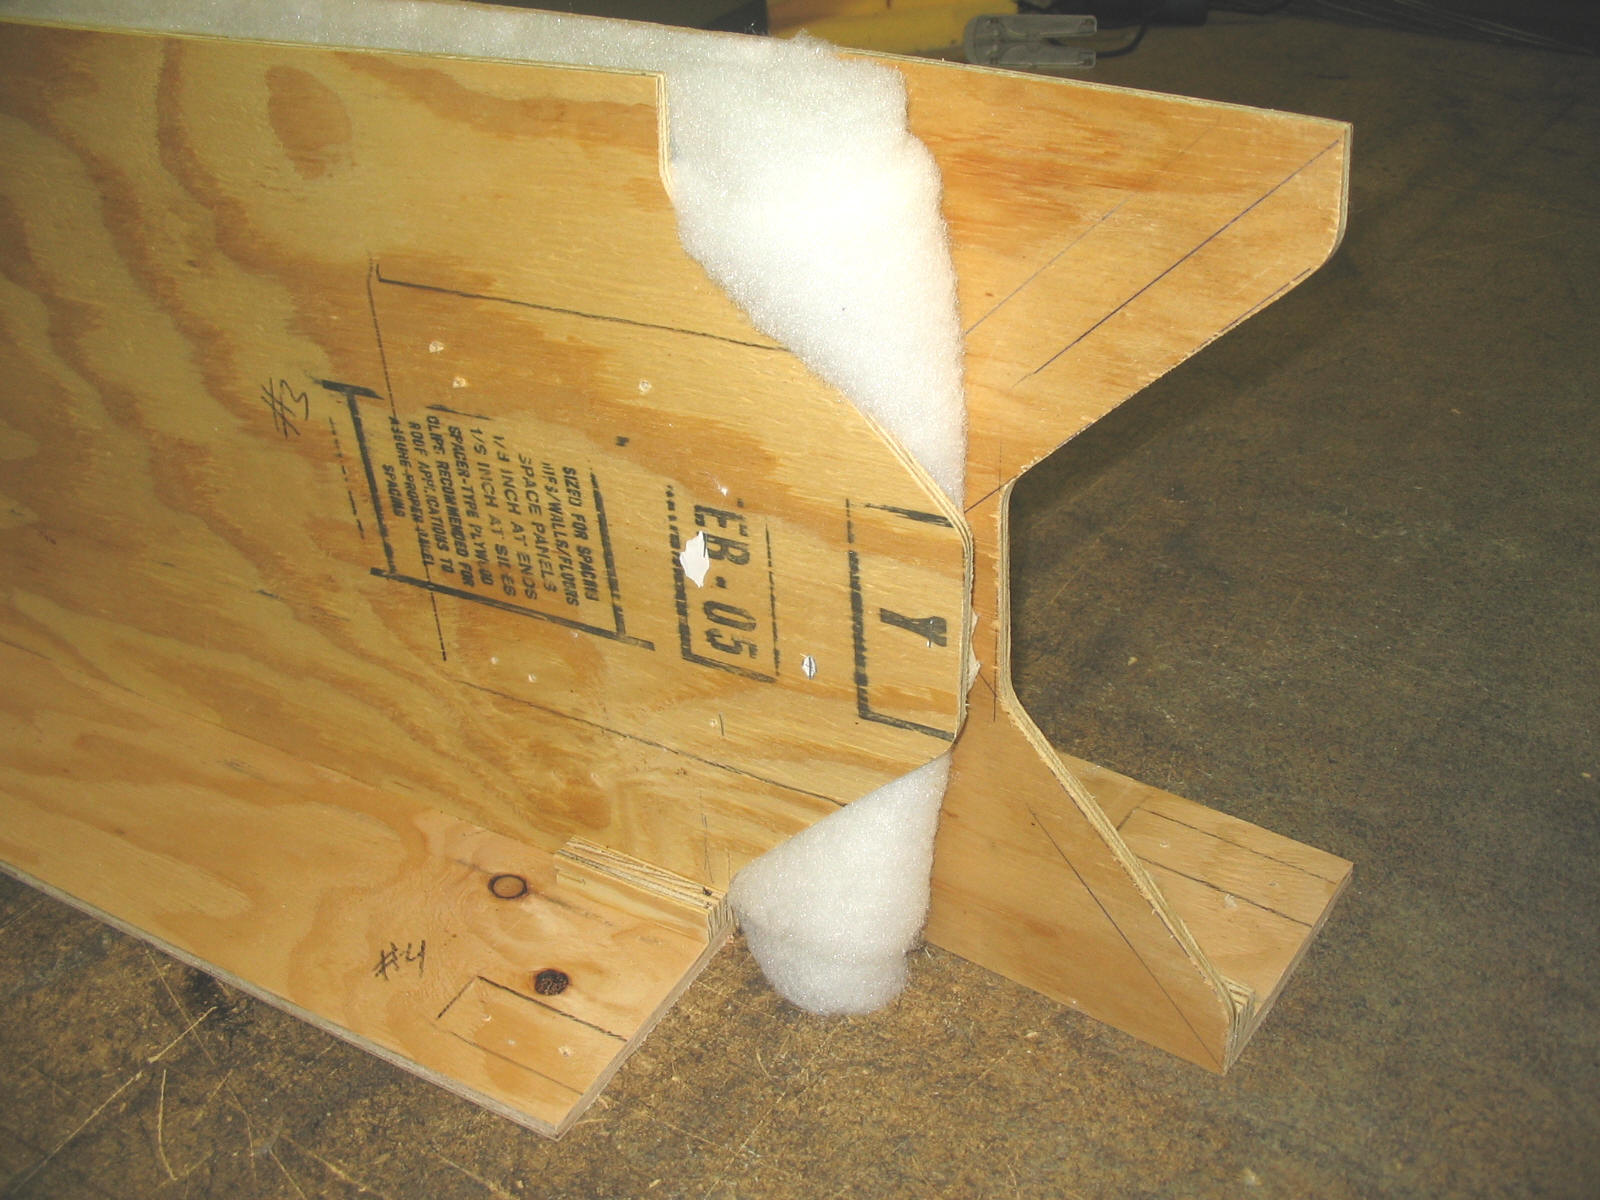
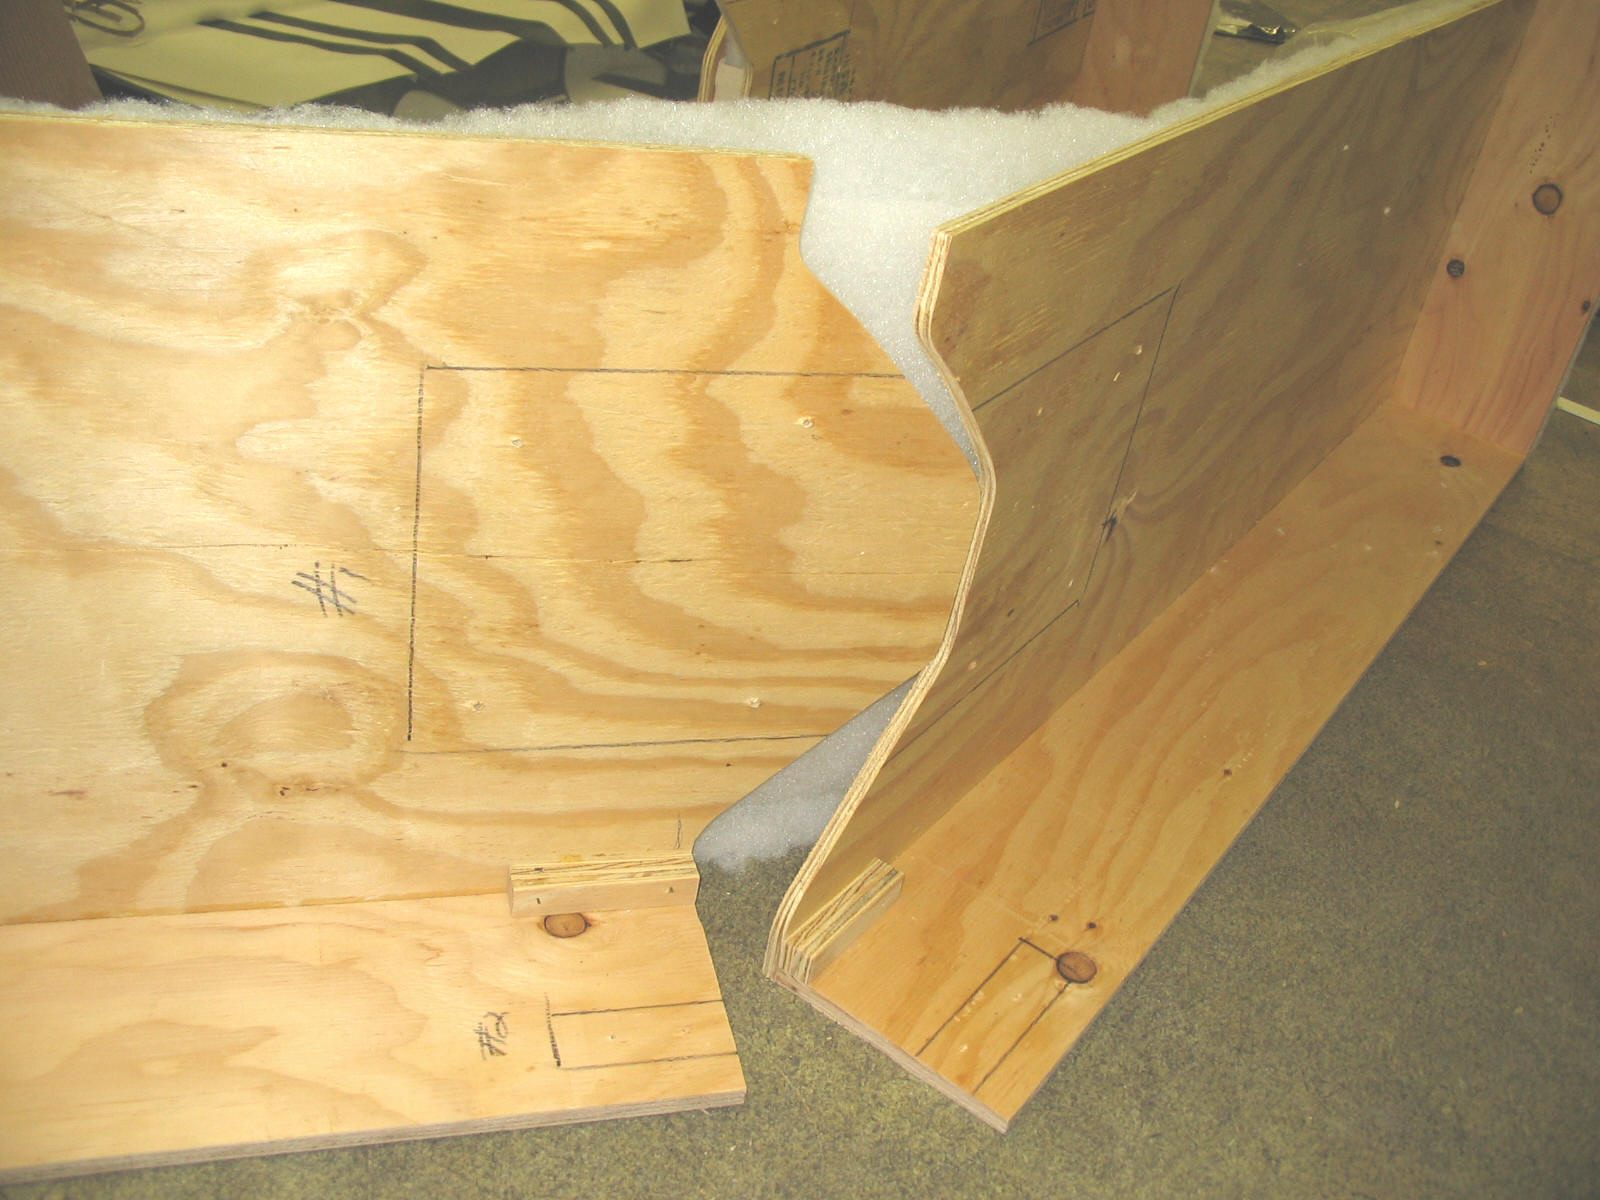
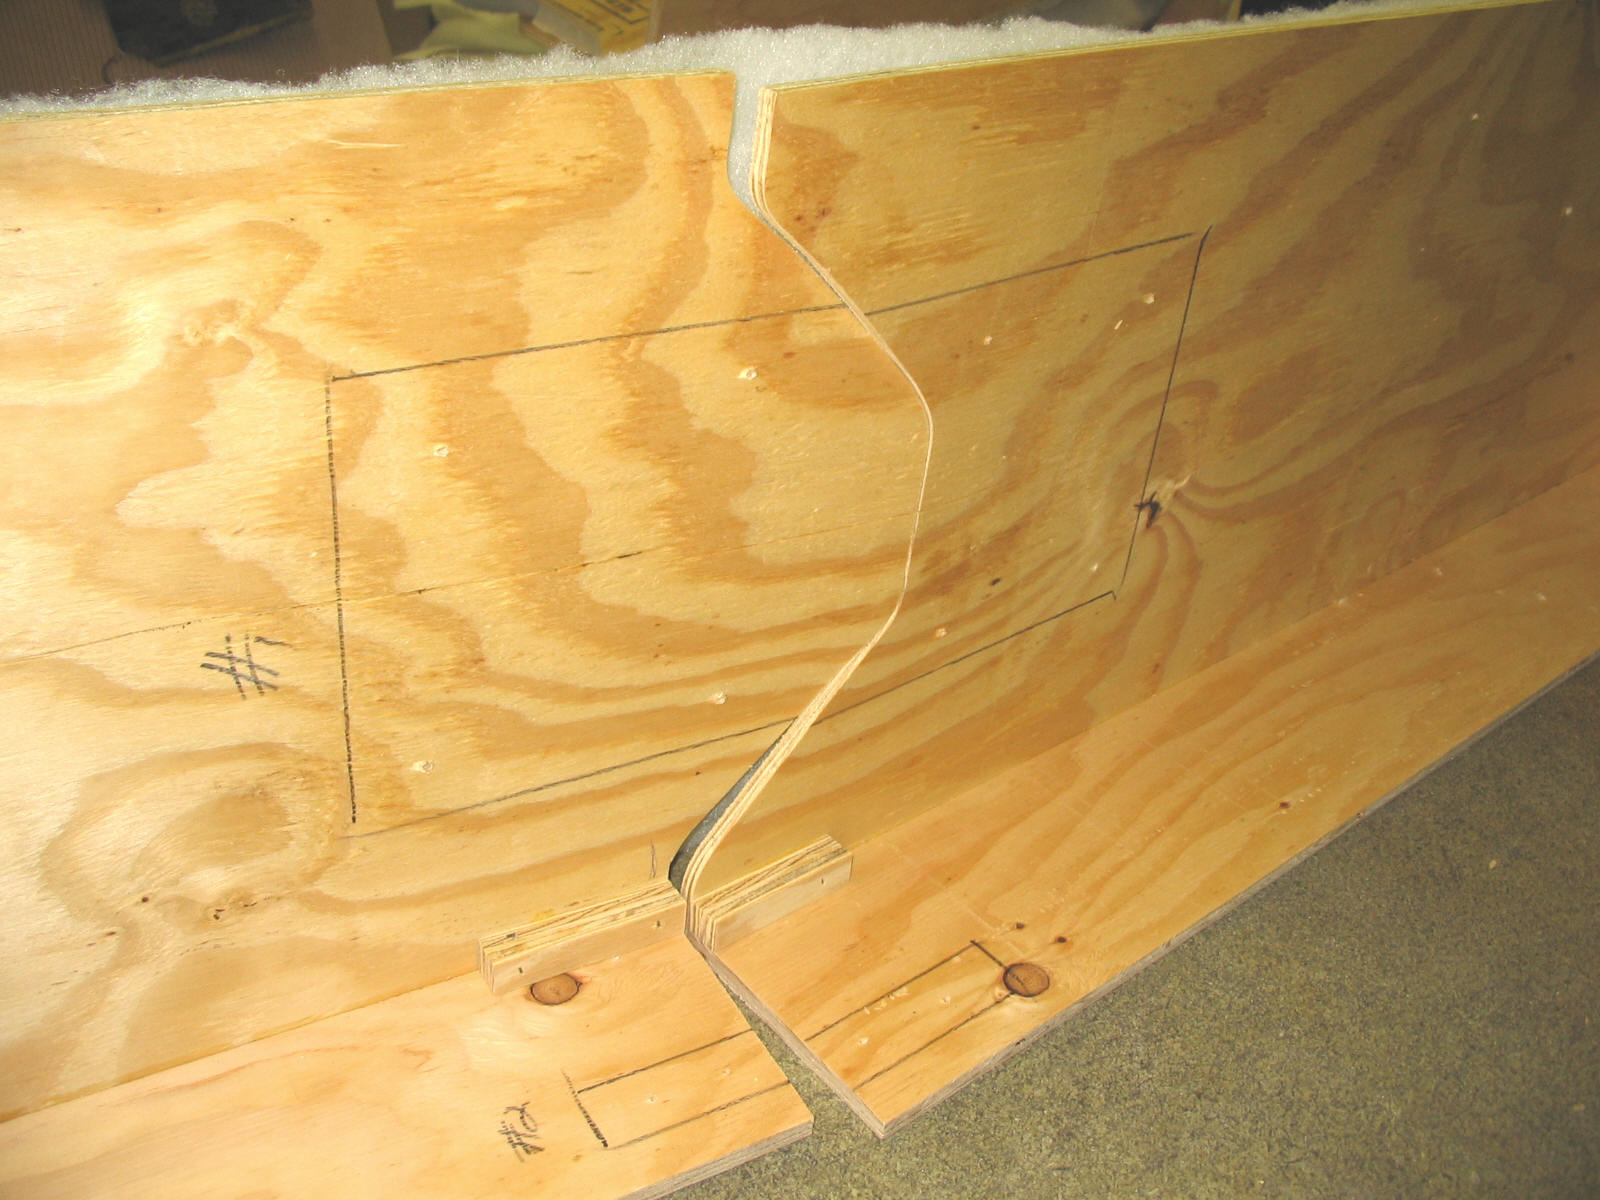
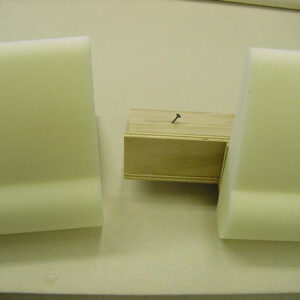
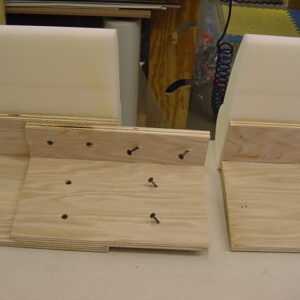
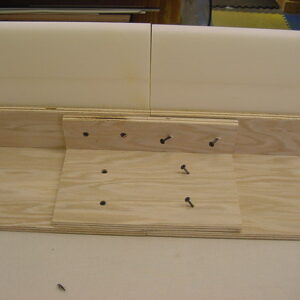
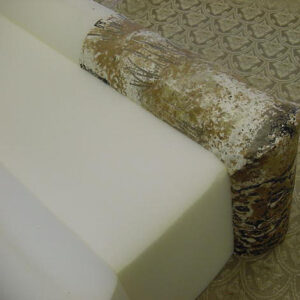
If your window measures longer than 60″ wide we will provide you the wood dust cap and screws, to join two foam cornices together.
 |
 |
 |
 |
 |
Front View Of Cornices to be joined |
Back View Of Cornices to be joined |
Joining two foam cornices together |
Finished Back View |
Finished Front View |
Step 2 – Decorating the Foam Cornice
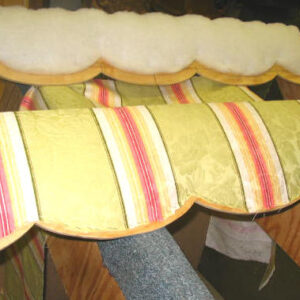
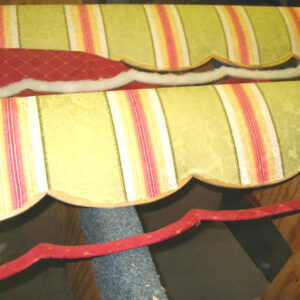
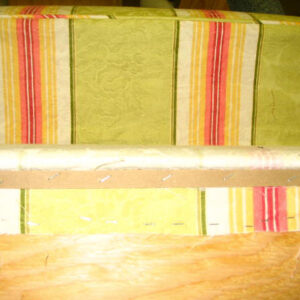
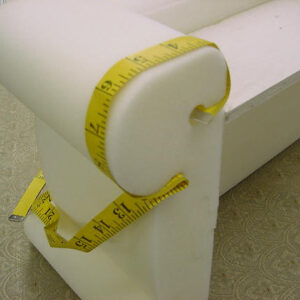
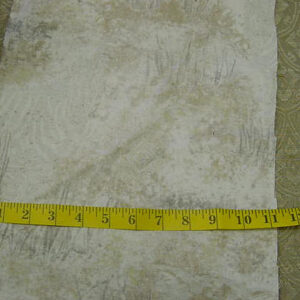
A. Measure and Cut Your Fabric in Strips You will be using fabric strips to cover every contour of your foam cornice.
Determine the fabric width by inserting a tape measure into a fabric groove, bringing it around and inserting it into the next fabric groove, then adding 1″ to 1-1/2″ depending on the thickness of the fabric.
 |
 |
 |
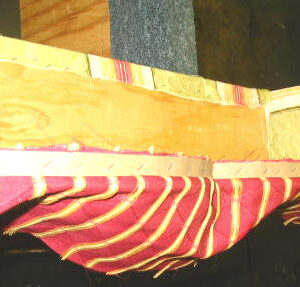
Measure Foam Corner |
Cut your material |
Apply on Foam Corner |
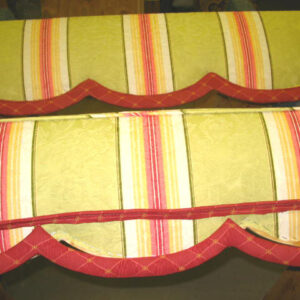
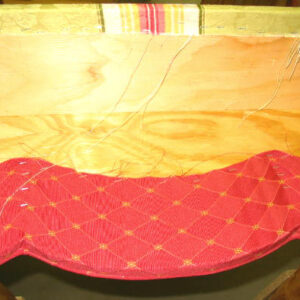
To determine the length of your fabric strips, measure the front of the cornice, add the length of the two returns, then add three inches. This will give you enough length to cover the cornice and fold over a hem at each end of the cornice.
Helpful Hint: For a gathered effect, add 3 inches (instead of 1) to the width and double (or triple) the length of your fabric strip, depending upon the amount of gathers you want.
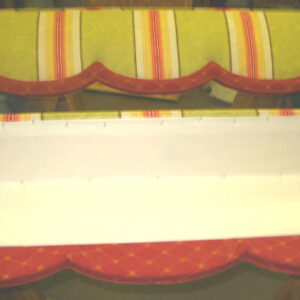
If you should run out of fabric or need to start the next piece, DON’T PANIC! Simply fold the next strip of fabric over and lay it on top of the first strip. Continue tucking as you have been doing.
If your cornice can be seen from the outside or as you walk through an Arcadia Door, for example, you will probably want to finish the back with fabric as well. As before, measure the length and width and simply tuck into the grooves on the back.
Step 3 – Hanging Your Cornice
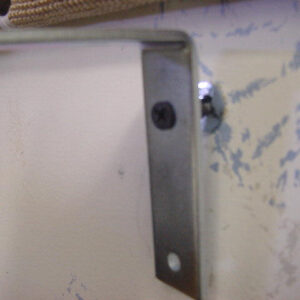
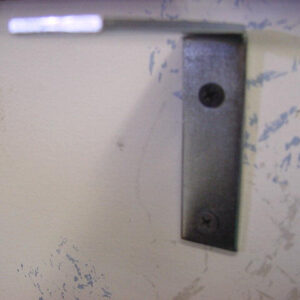
A. Installing the Hardware
 |
 |
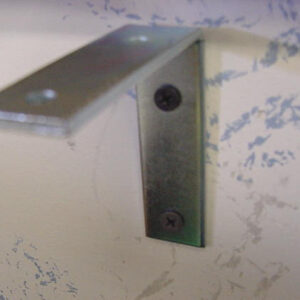 |
We provide the plugs for dry wall. |
We provide the proper brackets to hold foam cornice board. |
How to install bracket – the finished look. |
On the window above the vertical casing (known as molding) you will find a wall stud. (if you can’t find the wall stud, we will provide you with drill-in fasteners to drill into the wall.)
After determining the appropriate placement for the hardware based on the desired height, mark the wall through the slot where you will place the two L-Brackets and screws.
The foam cornice dust cap will lay right on top of the L-Brackets.
(An appropriate amount of brackets is included with each kit.)
B. Hanging Your Cornice
The benefit of a dust cap is that it allows you to cover (with fabric) and hang your cornice boards more easily. It’s simple, just use the brackets.